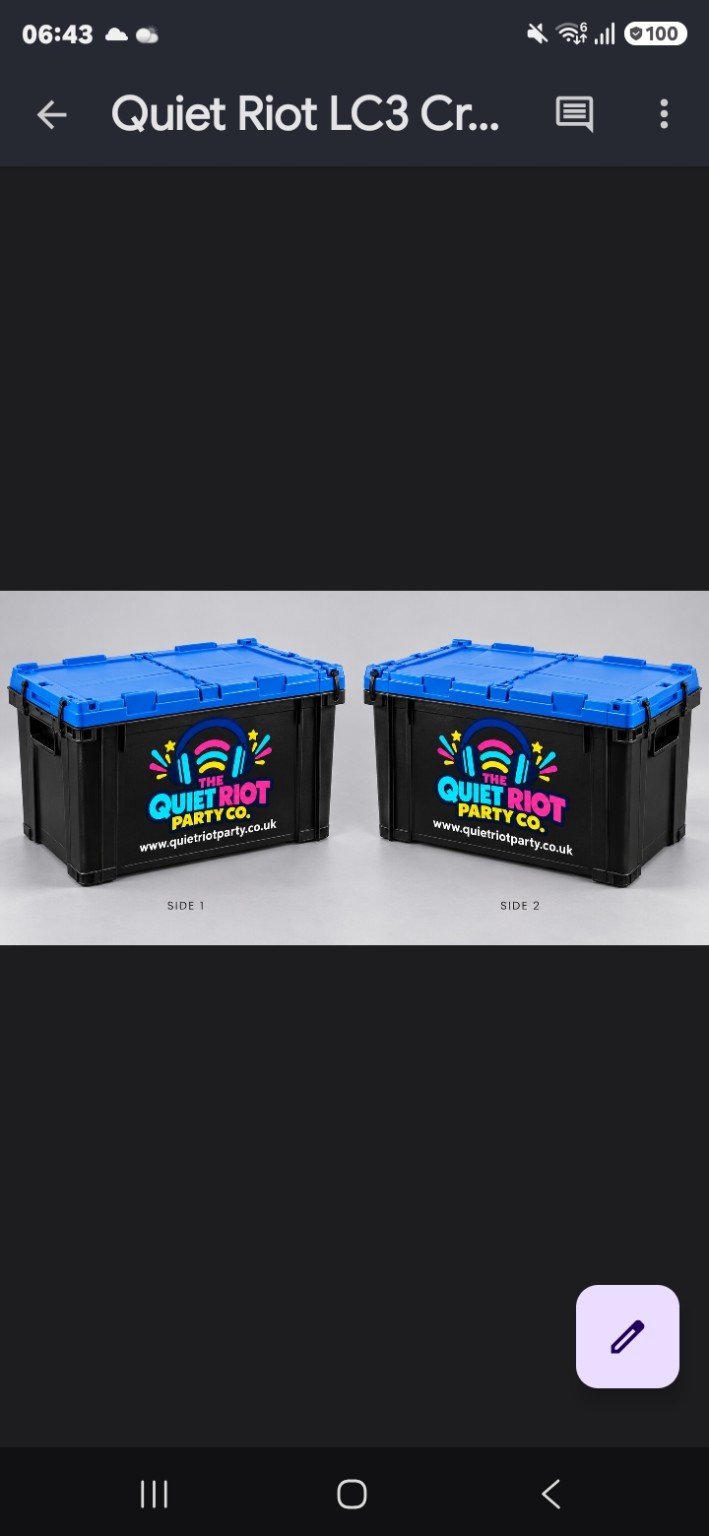
Check the packing list for headphones, transmitters, matching power supplies and audio leads. Tablets are an optional extra. Keep the crate, foam and cases together for the return journey.
Report missing items before your party using the contact details in your booking confirmation.
Prepare your music
For three different playlists at the same time, use three separate playback devices. Use our tablets if booked, or your own phones, tablets or laptops. Charge each device and test its audio output. Devices without a headphone socket need a compatible audio adapter.
Using Spotify? Premium is needed to download music for offline playback. Download each playlist onto the device that will play it and confirm the download has finished. Turn on Offline Mode. Switch airplane mode ON on every tablet or phone playing a downloaded playlist, including hired tablets. Keep Wi-Fi off, then test a whole song before guests arrive. This helps prevent calls and messages interrupting the music. Turn on Do Not Disturb as well to suppress notifications.
For three simultaneous online Spotify streams, use separate eligible accounts. Don’t assume one account will stream three different playlists at once. Test all downloaded playlists on all three devices together while offline. YouTube and other streamed music need an internet connection.
Position and connect the transmitters
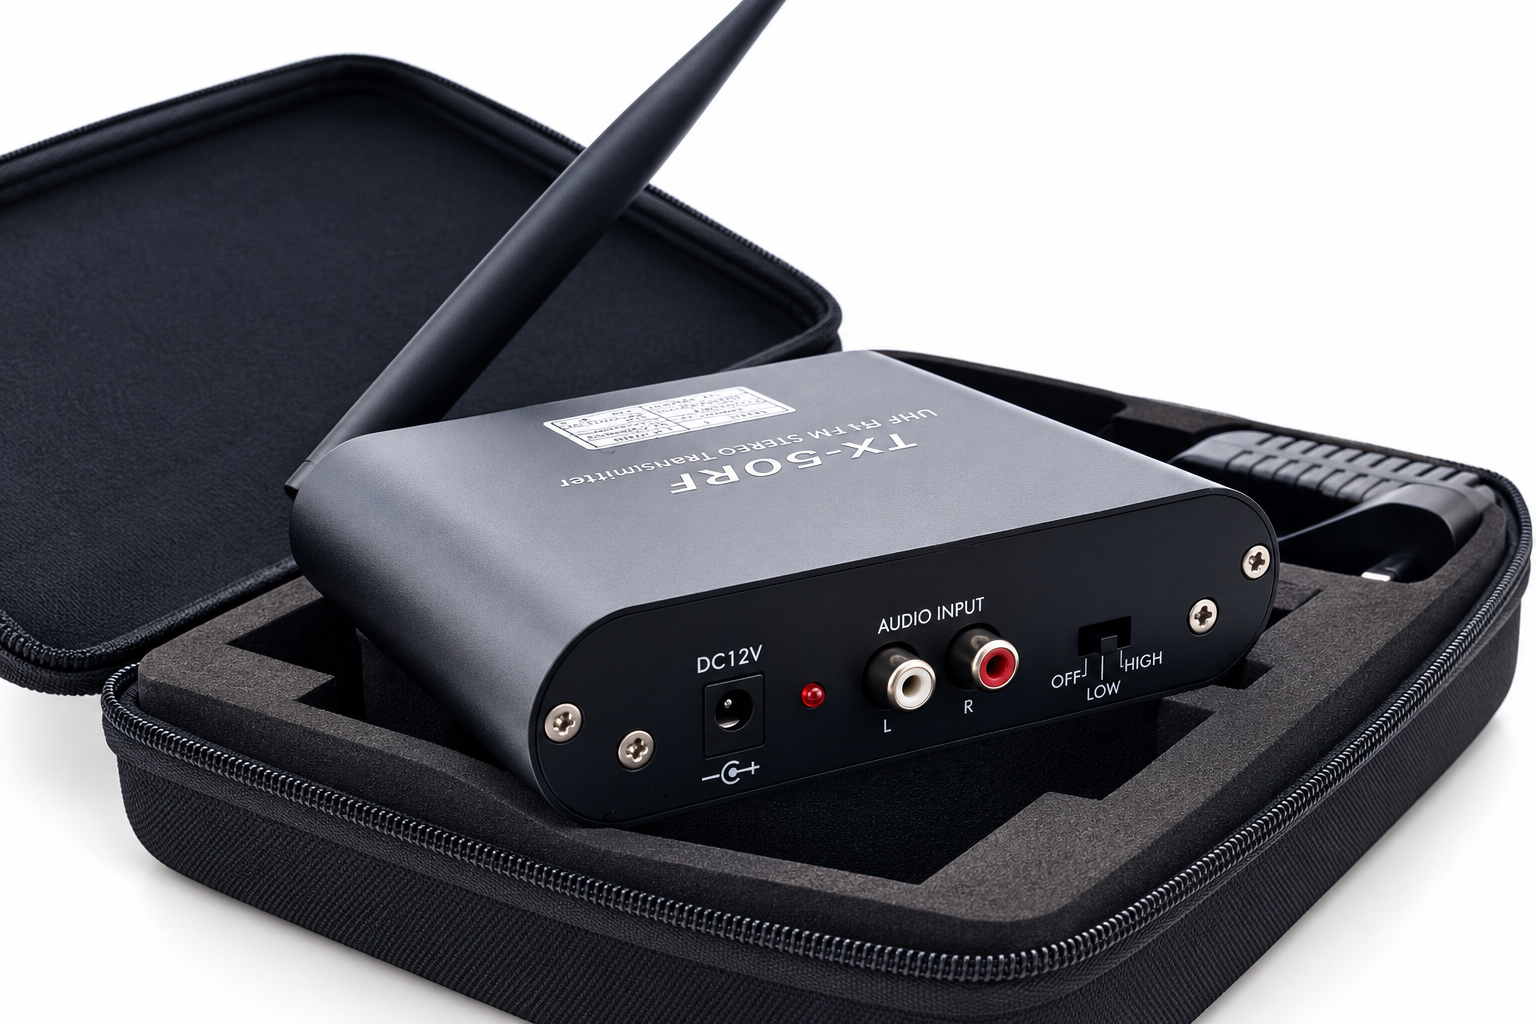
Your transmitter connections. The supplied power adapter connects to DC12V. Match the audio lead’s white and red plugs to the AUDIO INPUT L/R sockets. The switch is marked OFF / LOW / HIGH. Remove the transmitter from its case before use.
Place transmitters on a stable, dry table near power sockets and away from drinks. Keep cables out of walkways. Position aerials as shown in the supplied equipment instructions and keep them clear of large metal objects.
With transmitters switched off, connect each device’s audio output to its transmitter’s AUDIO IN or LINE IN using the supplied lead. Don’t use a microphone socket. Connect each transmitter to its matching supplied power adapter, then switch it on.
Set one transmitter to each channel
Select channel 1 on the first transmitter, channel 2 on the second and channel 3 on the third. Follow the equipment labels if colours or letters are used. Start a different playlist on each connected device.
Use one transmitter per channel in the same party area. If additional crates contain duplicate transmitters, use one set of three unless we have supplied a specific alternative setup.
Check every channel
Switch on a pair of headphones with the volume low. Select channels 1, 2 and 3 in turn and confirm each plays the intended music. Check the device is sending sound through its wired audio output rather than its own speaker or a Bluetooth speaker.
Start each music device at a moderate volume and adjust until the sound is clear. Reduce device output if it crackles or distorts. Walk around the party area with a test pair to check coverage.
Show guests the controls
Show guests the power control, channel selector and personal volume control, and which light colour corresponds to each channel. Guests can switch channels at any time and adjust their headphone volume to a comfortable level.
Keep playback devices connected and charged throughout the party. Leave airplane mode switched ON on phones and tablets using downloaded playlists.
Pack away for return collection
Your branded hire crate. Fold the headphones gently, then count them back into the crate one pair at a time. Return all equipment and secure the lid as instructed.
Stop playback and switch off all headphones, transmitters and supplied tablets. Unplug power supplies and audio leads. Sign out of personal accounts on hired tablets, but don’t factory reset them.
Gently fold each pair of headphones and count them into the crate one pair at a time, checking the total against the packing list. Return equipment to the same foam spaces, sleeves and cases it arrived in. Coil leads loosely, protect screens and aerials, and check the packing list for all headphones, adapters and cables. Keep items from each crate together. Don’t force the lid closed or let items press against tablet screens.
Secure the crate using the supplied return instructions. Attach the return label and remove or cover the old delivery label. Have every crate ready for the collection date in your booking confirmation.
If something isn’t working
No sound on one channel
Check music is playing, the lead is fully connected to AUDIO IN, the transmitter has power and the headphones are on the same channel. Raise device and headphone volume gradually.
One pair is silent
Check its power, channel and volume. Try another pair. If only one pair fails, set it aside and tell us.
Crackling or dropouts
Move nearer to the transmitter. Check plugs and aerial position. Reduce device volume if distorted. Make sure there is only one active transmitter on that channel.
Playback stops
Check device battery and the music app. Confirm downloads play offline. If streaming, check Wi-Fi and account playback on other devices.
Need help?
Use the support contact in your booking confirmation. Tell us the affected channel, device and whether other headphones work.
Let your DJ be the third channel
Your DJ brings the music. Our headphones bring it to your guests.
Using your own DJ? Connect their mixer or controller to a silent-disco transmitter with an audio cable. The transmitter sends their music wirelessly to the headphones. A DJ is not included in equipment hire.
Check the connection before your party
Your DJ checks the audio output on their mixer or controller and chooses a suitable cable or adapter to connect it to the transmitter.
Plug the DJ into the transmitter
Turn the transmitter off and turn the DJ’s output volume down. Connect a suitable line-level output on the mixer or controller to the transmitter’s AUDIO IN or LINE IN socket using a suitable audio cable. The DJ’s output may be labelled MASTER OUT, BOOTH OUT or REC OUT. Do not connect a powered speaker output.
Choose a channel
Connect the transmitter to its supplied power adapter and switch it on. Select channel 3 for the DJ. Use only one transmitter on each channel in the same party area.
Play a track and test the sound
Switch on a pair of headphones, select channel 3 and start with the headphone volume low. Ask the DJ to play a track and slowly raise their output level. If the sound distorts, lower the DJ’s output and check again.
Let your guests choose
Tell guests which channel the DJ is playing on. Everyone can adjust their own headphone volume. Want more choice? Connect a separate phone or tablet to each of the other two transmitters for different playlists.
One DJ, plus two playlists
Channel 1: party classics · Channel 2: your alternative playlist · Channel 3: live DJ.
For downloaded playlists on phones or tablets, switch airplane mode on and test playback offline before the party. The DJ should use their own wired headphones connected to their mixer for cueing tracks. Audience speakers are not needed.
Choose your connection
No headphone socket? We can help.
Check each phone, tablet or laptop you plan to use. A round 3.5mm headphone socket accepts the supplied audio lead directly. If it has no headphone socket, you need an audio adapter that fits its charging port.
USB-C audio adapter · £5 each
For devices with a USB-C port and no headphone socket. USB-C has a small, oval-shaped opening. This includes many newer Android phones, tablets, iPads and iPhones.
You need a USB-C to 3.5mm headphone adapter with a built-in DAC. Check compatibility with your exact device.
Open the Compatibility section to find your model. This lists Lightning-compatible devices, not only devices that need an adapter: if yours has a 3.5mm headphone socket, use the supplied lead directly.
If your older Apple phone or tablet has a Lightning port and no headphone socket, please buy your own Lightning to 3.5mm headphone adapter before your hire. Choose an Apple or MFi-certified audio adapter and check your exact device model. If your device already has a 3.5mm socket, no adapter is needed.
Lightning adapters are not supplied by Quiet Riot. Connect your adapter to the device, then plug the supplied audio lead into its 3.5mm socket. Test it before your party.
External retailer: check the current price, compatibility and delivery date before ordering.
Already have a headphone socket?
No adapter is needed. Plug the supplied lead’s 3.5mm plug straight into the headphone socket. Connect its white and red plugs to the transmitter.
USB-C adapters are £5 each to purchase and keep. Local discounts do not apply. The USB-C button opens an email request, not a confirmed order. Please buy Lightning adapters separately using the retailer link above. Include your exact device model if you need help choosing.
How the adapter works
The adapter provides a headphone socket for the supplied audio lead. It connects your device’s sound to the transmitter; it does not pair the headphones by Bluetooth.
Plug the correct audio adapter into your phone or tablet’s charging port.
Insert the supplied audio lead’s 3.5mm plug fully into the adapter’s headphone socket.
Connect the lead’s white plug to L and red plug to R on the transmitter’s AUDIO INPUT sockets.
Connect the transmitter’s supplied power adapter to DC12V. Start your music, then follow the power-up and headphone steps below.
Have a headphone socket? Skip step 1 and connect the 3.5mm plug directly. An adapter is needed for every music device without a headphone socket. A charging-only adapter will not carry audio. Charge your device before the party, as its charging port may be occupied.